


Micro ball screws are crucial components in various precision machinery, such as CNC machines, robotics, and semiconductor manufacturing equipment. Over time, due to wear and tear, these components may need to be replaced. As a leading Micro Ball Screw [/ball-screws/micro-ball-screw.html] supplier, I'm here to guide you through the process of replacing a micro ball screw.
Understanding Micro Ball Screws
Before delving into the replacement process, it's essential to understand what micro ball screws are. Micro ball screws are a type of mechanical linear actuator that translates rotational motion into linear motion with high precision. They consist of a screw shaft, a nut, and a series of ball bearings. The ball bearings roll between the screw shaft and the nut, reducing friction and enabling smooth and accurate linear movement.
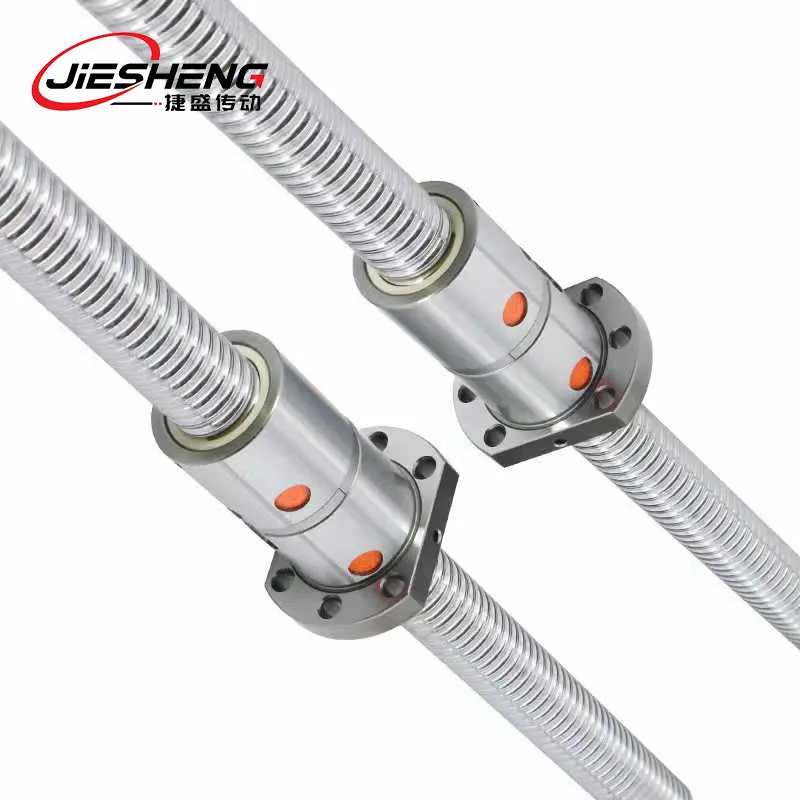
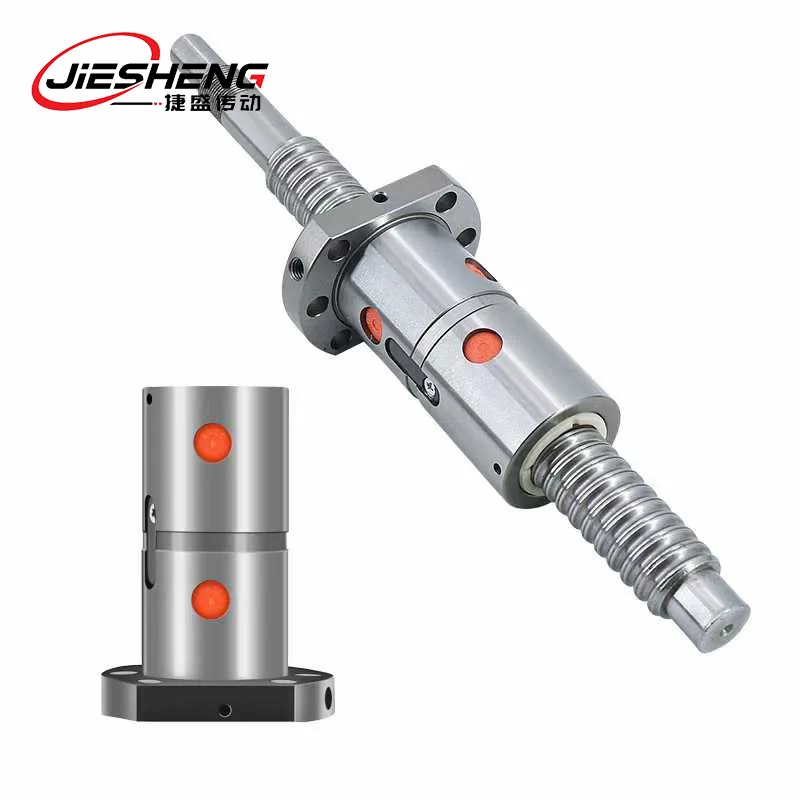
Compared to traditional lead screws, micro ball screws offer several advantages, including higher efficiency, better precision, and longer service life. They are widely used in applications where high precision and repeatability are required, such as in high-precision ball screws [/ball-screws/high-precision-ball-screw.html] for CNC machines and robotics.
Signs That a Micro Ball Screw Needs Replacement
There are several signs that indicate a micro ball screw may need to be replaced:
- Increased Friction: If you notice an increase in the amount of force required to move the nut along the screw shaft, it could be a sign of wear on the ball bearings or the screw shaft itself.
- Backlash: Backlash refers to the amount of play or free movement between the screw shaft and the nut. An increase in backlash can indicate wear on the ball bearings or damage to the screw shaft.
- Noise or Vibration: Unusual noise or vibration during operation can be a sign of a problem with the micro ball screw. This could be due to worn ball bearings, misalignment, or damage to the screw shaft.
- Decreased Precision: If the linear motion of the machine becomes less precise or repeatable, it could be a sign that the micro ball screw is no longer functioning properly.
Tools and Materials Required
Before you begin the replacement process, you'll need to gather the following tools and materials:
- Replacement Micro Ball Screw: Make sure you have the correct replacement micro ball screw for your application. Check the specifications of the original micro ball screw, including the diameter, lead, and length, to ensure a proper fit.
- Wrenches and Screwdrivers: You'll need a set of wrenches and screwdrivers to remove the old micro ball screw and install the new one.
- Cleaning Supplies: Use a clean cloth and a suitable cleaning solvent to clean the mounting surfaces and the new micro ball screw before installation.
- Lubricant: Apply a high-quality lubricant to the new micro ball screw to ensure smooth operation and reduce friction.
- Alignment Tools: Depending on the application, you may need alignment tools such as a dial indicator or a laser alignment system to ensure proper alignment of the new micro ball screw.
Step-by-Step Replacement Process
The following is a step-by-step guide to replacing a micro ball screw:
- Disconnect the Power: Before you begin any work on the machine, make sure to disconnect the power supply to prevent any accidental movement or injury.
- Remove the Old Micro Ball Screw: Use the appropriate wrenches and screwdrivers to remove the mounting bolts and any other fasteners that hold the old micro ball screw in place. Carefully remove the old micro ball screw from the machine, taking note of its orientation and any associated components.
- Clean the Mounting Surfaces: Use a clean cloth and a suitable cleaning solvent to clean the mounting surfaces where the new micro ball screw will be installed. Remove any dirt, debris, or old lubricant to ensure a proper fit.
- Inspect the New Micro Ball Screw: Before installing the new micro ball screw, carefully inspect it for any damage or defects. Check the ball bearings, the screw shaft, and the nut for any signs of wear or damage.
- Apply Lubricant: Apply a high-quality lubricant to the new micro ball screw, following the manufacturer's recommendations. Make sure to apply the lubricant evenly to the screw shaft and the ball bearings.
- Install the New Micro Ball Screw: Carefully install the new micro ball screw in the machine, aligning it with the mounting holes and any associated components. Use the appropriate wrenches and screwdrivers to tighten the mounting bolts and fasteners to the specified torque.
- Align the Micro Ball Screw: Depending on the application, you may need to use alignment tools to ensure proper alignment of the new micro ball screw. This is important to prevent excessive wear and ensure smooth operation.
- Reconnect the Power: Once the new micro ball screw is installed and aligned, reconnect the power supply to the machine.
- Test the Machine: Turn on the machine and test the linear motion of the new micro ball screw. Check for any signs of noise, vibration, or increased friction. Make any necessary adjustments to ensure proper operation.
Tips for a Successful Replacement
Here are some tips to help ensure a successful replacement of a micro ball screw:
- Follow the Manufacturer's Instructions: Always follow the manufacturer's instructions when replacing a micro ball screw. This includes the recommended torque values for the mounting bolts, the type of lubricant to use, and any other specific instructions.
- Take Your Time: Replacing a micro ball screw can be a delicate process, so take your time and be careful. Rushing through the process can lead to mistakes and damage to the new micro ball screw.
- Keep Records: Keep records of the replacement process, including the date of replacement, the type of micro ball screw used, and any adjustments made. This can be helpful for future maintenance and troubleshooting.
- Seek Professional Help if Needed: If you're not comfortable replacing the micro ball screw yourself, or if you encounter any problems during the process, seek professional help. A qualified technician can ensure that the replacement is done correctly and safely.
Conclusion
Replacing a micro ball screw is a critical maintenance task that can help ensure the continued performance and reliability of your precision machinery. By following the steps outlined in this guide and using the right tools and materials, you can replace a micro ball screw with confidence. As a trusted Micro Ball Screw supplier, we are committed to providing high-quality products and expert support to our customers. If you have any questions or need assistance with replacing a micro ball screw, or if you're interested in purchasing a new micro ball screw for your application, please don't hesitate to contact us for procurement and negotiation.
References
- Manufacturer's manuals for micro ball screws
- Industry standards and best practices for precision machinery maintenance


